Installing a dishwasher is a project many homeowners can tackle themselves with the right tools, preparation, and patience. Whether you’re replacing an old unit or installing a dishwasher for the first time, understanding the process can help you decide whether to DIY or call in a professional.
Before You Begin: What You’ll Need
Installing a dishwasher requires connecting three essential utilities: water supply, drainage, and electricity. Before starting any installation project, gather the necessary tools and materials:
Tools:
- Adjustable wrench
- Screwdriver set (Phillips and flathead)
- Drill with bits
- Level
- Tape measure
- Bucket and towels (for water cleanup)
- Pliers
- Wire stripper/cutter (if hardwiring)
Materials:
- New dishwasher
- Water supply line (typically 3/8-inch compression fitting)
- Drain hose (if not included with dishwasher)
- Wire nuts or electrical connectors
- Teflon tape
- Dishwasher mounting brackets (usually included)
- Electrical cable or cord (depending on your setup)
Most importantly, review your local building codes and determine whether your installation requires a permit. In Metro Detroit, you may not need a permit for installing a new dishwasher. Make sure to check in with your city to determine if you need a permit.
Understanding Your Connections
A dishwasher requires three critical connections, and understanding each will help you assess whether you can handle the installation yourself.
Water Supply
Dishwashers connect to your hot water line, typically through a shut-off valve under your kitchen sink. The connection uses a flexible braided supply line that runs from the valve to the dishwasher’s inlet valve. This is generally the most straightforward connection.
Drain Line
The dishwasher drains into your sink’s drain system through a drain hose. This hose must be properly looped high under your countertop (creating an “air gap”) to prevent backflow, or you may need a separate air gap device installed on your countertop or sink. The drain hose typically connects to your garbage disposal or a dedicated drain tailpiece under your sink.
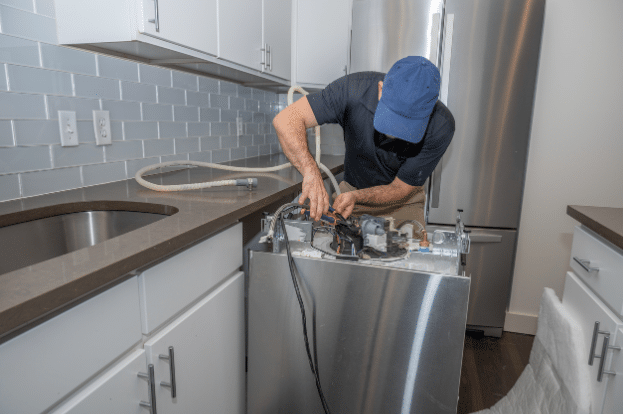
Electrical
Dishwashers require a dedicated 120-volt circuit. They can be either hardwired directly into a junction box or plugged into an outlet under your sink. Electrical work should only be performed if you’re comfortable working with circuits and local codes allow homeowner electrical work.
Step-by-Step Installation Process
1. Prepare the Space
If you’re replacing an existing dishwasher, start by turning off the water supply valve under your sink and shutting off the circuit breaker that powers the dishwasher. Remove the old unit by disconnecting the water supply line, drain hose, and electrical connection. You may need to remove the mounting brackets holding it in place under your countertop.
Clean the space thoroughly and measure the opening to ensure your new dishwasher will fit. Standard dishwashers are 24 inches wide, but verify your specific dimensions. Check that the floor is level—an unlevel dishwasher won’t drain properly and can cause leaks.
2. Position the Dishwasher
Carefully slide the new dishwasher into the opening, leaving enough slack in the lines to make your connections. Don’t push it all the way in yet. Most dishwashers have adjustable legs or feet that you’ll use to level the unit once it’s in position.
3. Connect the Water Supply
Apply Teflon tape to the threads of your shut-off valve and attach the flexible water supply line. Hand-tighten the connection, then use an adjustable wrench to tighten it an additional quarter to half turn—don’t overtighten. Connect the other end to the dishwasher’s water inlet valve, typically located at the front bottom of the unit. Again, hand-tighten first, then snug with a wrench.
4. Install the Drain Line
Attach the drain hose to the dishwasher’s drain outlet. If connecting to a garbage disposal, remove the knockout plug from the disposal’s dishwasher inlet first (this is a common oversight that causes drainage problems). Secure the drain hose to the disposal or drain tailpiece with a hose clamp.
Create a high loop in the drain hose by securing it to the underside of your countertop with a bracket or cable tie. This loop should reach as high as possible (ideally just below the countertop) to prevent dirty water from siphoning back into your dishwasher.
5. Make the Electrical Connection
This step requires caution and knowledge of electrical safety. Turn off the circuit breaker before beginning any electrical work.
If your dishwasher uses a plug-in cord, simply plug it into the outlet under your sink. If hardwiring, you’ll need to connect the dishwasher’s wiring to your home’s electrical supply through a junction box. Match wire colors: white to white (neutral), black to black (hot), and green or bare copper to ground. Secure connections with wire nuts and wrap them with electrical tape.
If you’re uncomfortable with electrical work, this is the point where calling a professional assistance is highly recommended. Improper electrical connections can cause fires or equipment damage.
6. Secure and Level the Unit
Once all connections are made, carefully slide the dishwasher into its final position. Use a level to check that the unit is level from front to back and side to side. Adjust the leveling legs or feet as needed; most are adjustable by turning them clockwise or counterclockwise.
Open the dishwasher door and locate the mounting brackets at the top of the unit. These typically have pre-drilled holes that align with your countertop or cabinet frame. Drive screws through these brackets to secure the dishwasher in place.
7. Test Your Installation
Before celebrating, you need to test everything. Turn the water supply valve back on and check for leaks at all connection points. Turn the circuit breaker back on. Run the dishwasher through a complete cycle without dishes, watching carefully for any leaks from the water supply, around the door seal, or from the drain connections.
Check under your sink during the drain cycle to ensure proper drainage with no leaks. If you notice any leaks, turn off the water and power, then tighten connections as needed.
Relocating a Dishwasher: When DIY Becomes More Complex
Relocating a dishwasher to a different location in your kitchen is significantly more involved than replacing a unit in the same spot. While determined DIYers can handle simple replacements, relocations often cross into territory where professional help becomes essential.
What’s Involved in Relocating a Dishwasher?
Moving a dishwasher requires extending or rerouting all three utility connections (water, drain, and electrical) to the new location. Here’s what’s involved:
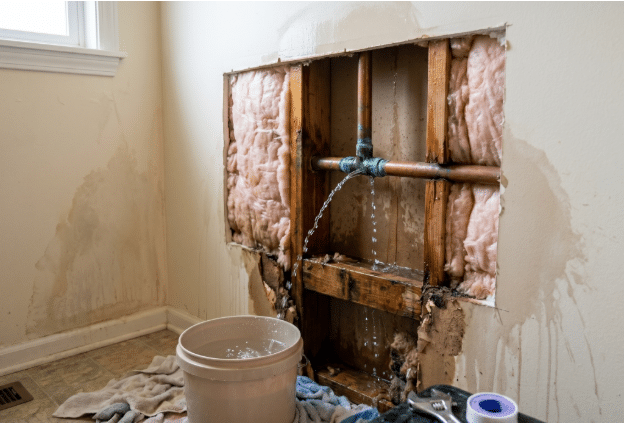
Water Supply Extension: You’ll need to run a new hot water supply line from your existing plumbing to the new dishwasher location. This might involve cutting into walls, running pipes through cabinets, and installing a new shut-off valve. Soldering copper pipes or working with PEX tubing requires specialized skills and tools.
Drain Line Routing: The drain line must maintain proper slope for drainage and still create the necessary high loop or air gap. Running a new drain line may require cutting into cabinetry or walls and ensuring the new route connects properly to your drain system without creating low spots where water could accumulate.
Electrical Work: A dedicated 120-volt circuit must be extended to the new location. This involves running new electrical cable through walls or cabinets and potentially installing a new junction box. This work must meet National Electrical Code requirements and local building codes.
Cabinetry Modifications: The new location needs proper clearance and may require cabinet modifications to accommodate the dishwasher’s dimensions and allow for connections.
Dishwasher relocations typically require a professional plumber, and in most jurisdictions, they require permits and inspections. These permits ensure work meets safety standards and includes inspections to verify proper installation. Unpermitted work can create problems when selling your home and may void insurance coverage if problems arise.
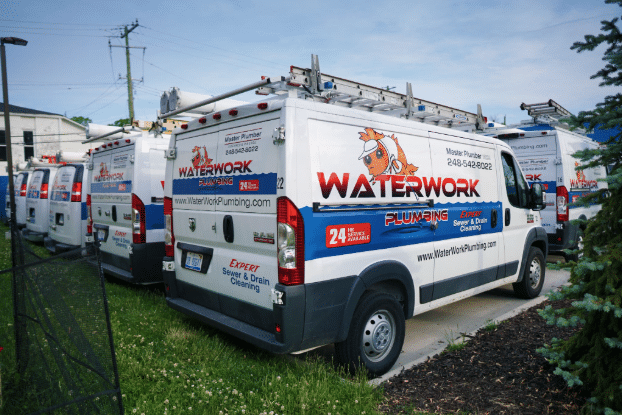
At WaterWork Plumbing, we handle dishwasher relocations and installations regularly throughout Metro Detroit. Our licensed plumbers can assess your space, pull necessary permits, complete the work to code, and ensure everything passes inspection. We’ll also identify the most efficient routes for your new connections, minimizing disruption to your kitchen.
Common Installation Mistakes to Avoid
Even simple replacement installations can go wrong. Here are mistakes we frequently see:
- Forgetting the Disposal Knockout Plug: If you have a garbage disposal and don’t remove the knockout plug from the dishwasher inlet, your dishwasher won’t drain. This plastic plug must be knocked out with a screwdriver and hammer, then removed from inside the disposal.
- Improper Drain Loop: Without a proper high loop or air gap, contaminated water can siphon back into your dishwasher, creating health hazards and affecting cleaning performance.
- Overtightening Connections: Water supply fittings only need to be snug. Overtightening can crack fittings and cause leaks.
- Not Leveling the Unit: An unlevel dishwasher won’t drain completely, leaving standing water that can cause odors and poor cleaning results.
- Incorrect Electrical Connections: Reversed or loose electrical connections can damage your dishwasher’s control board or create fire hazards.
- Skipping the Test Run: Always run a complete cycle after installation to identify leaks when you’re present to address them immediately.
WaterWork Plumbing Is Here If You Need Us
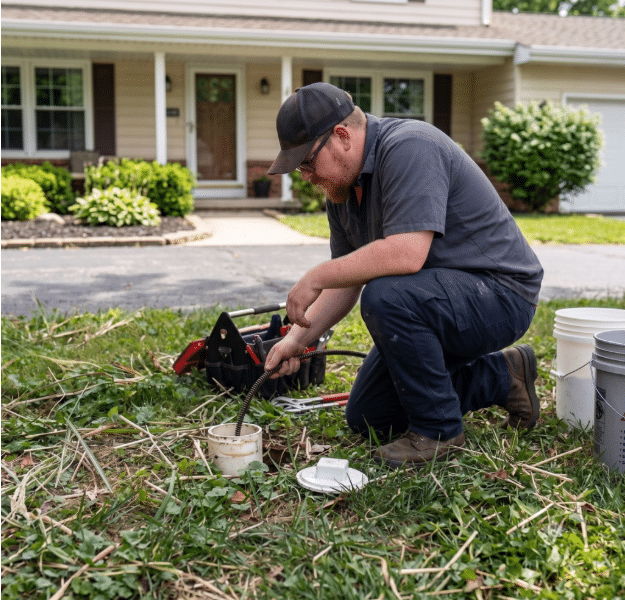
WaterWork Plumbing has been serving Metro Detroit homeowners since 2006, and our team of licensed professionals handles dishwasher installations daily. We can complete the job quickly, obtain necessary permits, ensure everything meets code requirements, and provide warranties on our work. We’re here to help, whether that means completing a full professional installation or assisting with a challenging step in your DIY project. Visit our website or give us a call at (248) 542-8022 to schedule an appointment.